The solution to your bloated 'Downloads' folder problem [Mac only]
I’m proud to announce that I’ve solved the problem of a bloated Downloads folder and have been using it successfully for over a year.
It’s like a DVR for your downloads
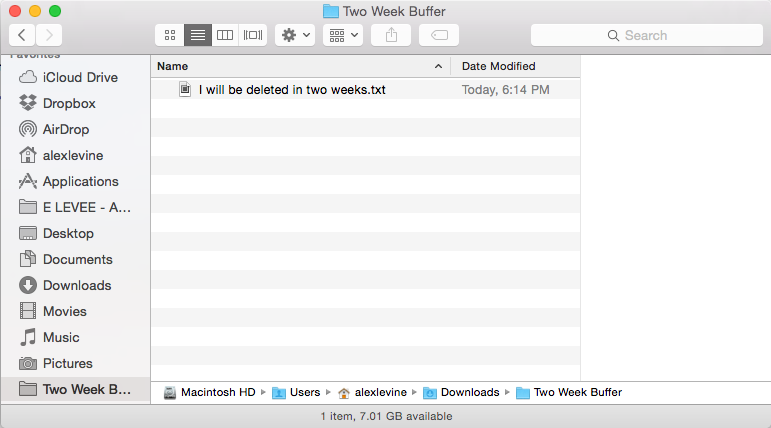
Imagine if you had a folder where the contents would automatically delete after two weeks. That’s how this works. Inside your ‘Downloads’ folder, you will create a folder named ‘Two Week Buffer’ and this script will run on that folder.
For most files you download, you only need them within the hour or the day of the download. Sometimes you will need the file later in the week but very seldom do you need it after two weeks.
In a world where everything is stored in the cloud, usually we only download files that we need to manipulate, print, send to another device, or simply have for a plane ride without internet access.
How it works
When you have the script installed, every time you restart your computer it will scan the folder called ‘Two Week Buffer’ in your ‘Downloads’ folder for files or folders older than two weeks old and send them to the trash.
What it’s amazing for
- Bittorrent - If you download an enormous 6GB megapack of something just to see if you like any of the contents. It automatically gets deleted so it doesn’t pile up and take up valuable SSD space.
- Installers - You only need installer files to install the program. This makes sure they expire out of your system automatically.
- PDFs - If you grabbed a PDF to print or to send to someone else, you don’t need it anymore.
- Funny Images - You find a great GIF, you download it so you can put it in an email or Slack channel, people laugh. You don’t need the GIF anymore.
- Finding files - One of the issues with a bloated Downloads folder is finding stuff in the pile of crap. Since everything older than two weeks gets cleaned out, it’s rare to have more than 10-20 files in this folder at all times. It makes finding files very easy.
Installation Instructions
- Create a folder inside ‘Downloads’ called ‘Two Week Buffer’. This must be exactly as I wrote it, caps sensitive.
- Download the
TwoWeekBuffer.app - Extract the
TwoWeekBuffer.appfile - Put it somewhere where it won’t be messed with, let’s say ‘Documents’.
- Go to ‘Users and Groups’ under ‘System Preferences’, got to the ‘Login Items’ tab
- Click the plus button and find the
TwoWeekBuffer.appfile that you saved. This makes it so it will run on boot. - This step is important: go to Chrome or your default browser and change the default download location to the ‘Two Week Buffer’ folder.
- I recommend dragging the ‘Two Week Buffer’ folder to the Finder’s left pane for quick access.
That’s it!
Nerd stuff
Managed to write this AppleScript in Automator without knowing any AppleScript (thanks Google). Here are the few lines of code that make it work.
If you want to tweak anything, you can open this file in Automator and change things like the time frame and the folder to use.
Code from TwoWeekBuffer.app
on run {input, parameters}

	tell application "Finder"
		set folderPath to (POSIX path of (path to home folder)) & "/Downloads/Two Week Buffer" as POSIX file
		set twoWeeksAgo to (get current date) - (2 * weeks)
		delete (get every file of folder folderPath whose creation date is less than twoWeeksAgo)
		delete (get every folder of folder folderPath whose creation date is less than twoWeeksAgo)
	end tell

	return input
end run